PPC120 | YOUR ASSOCIATION
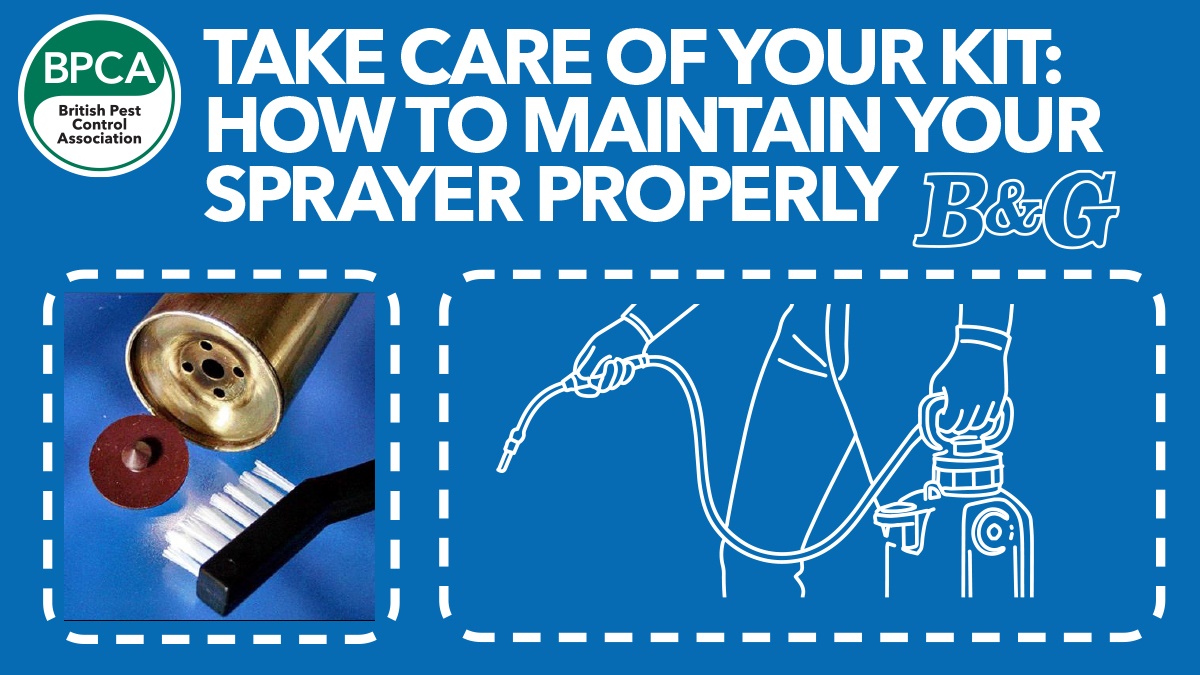
In this article, Anna Iversen from US-based equipment manufacturer B&G (a Pelsis brand) shares her expert guidance on compressed air sprayer maintenance.
Drawing on over two decades in pest management, Anna walks us through the must-do routines and fixes that keep your kit in top shape - so it works as hard as you do.
SPEED READ
- Proper sprayer storage and maintenance prevent damage, improve safety and reduce chemical waste
- Cold weather can cause serious damage-never leave liquid in the tank during winter
- Inspect and clean all components regularly, especially nozzles and strainers
- Replace key parts like gaskets and valves every 6 to 12 months to ensure consistent performance
- A well-maintained sprayer can last decades - and save you money in the long run.

1 Look after your kit, and it’ll look after you
Let me start by saying: your sprayer is more than just a too, it’s a teammate. And just like a teammate, it deserves proper care. I’ve seen too many pest control technicians run into problems that could have been avoided with a bit of routine maintenance.
Whether you’re using a B&G Prime Line or another compressed air sprayer, the principles are the same. And while I’ll be focusing on our classic one-gallon model, these tips apply broadly across the industry.
2 Stop storing your sprayer full
One of the most common problems I see is people storing their sprayers with chemical still inside, sometimes in freezing conditions. That’s a double whammy for damage. Cold weather can freeze the liquid, leading to burst components like the wand, valve, or hose. It’s just like frozen plumbing in a house.
Even if your climate’s milder, residual chemicals can corrode internal parts and lead to costly failures. Always store your sprayer empty and clean, ideally inside a protective case or at least a bucket to catch leaks.
If it’s cold where you are, remove the valve before storage. It’s one of the most vulnerable (and expensive) parts.

3 Prep your tools and PPE
Before you start any maintenance, suit up with the right PPE. Even a “clean” sprayer can have residual pesticide inside, so always protect your hands, eyes and lungs as needed.
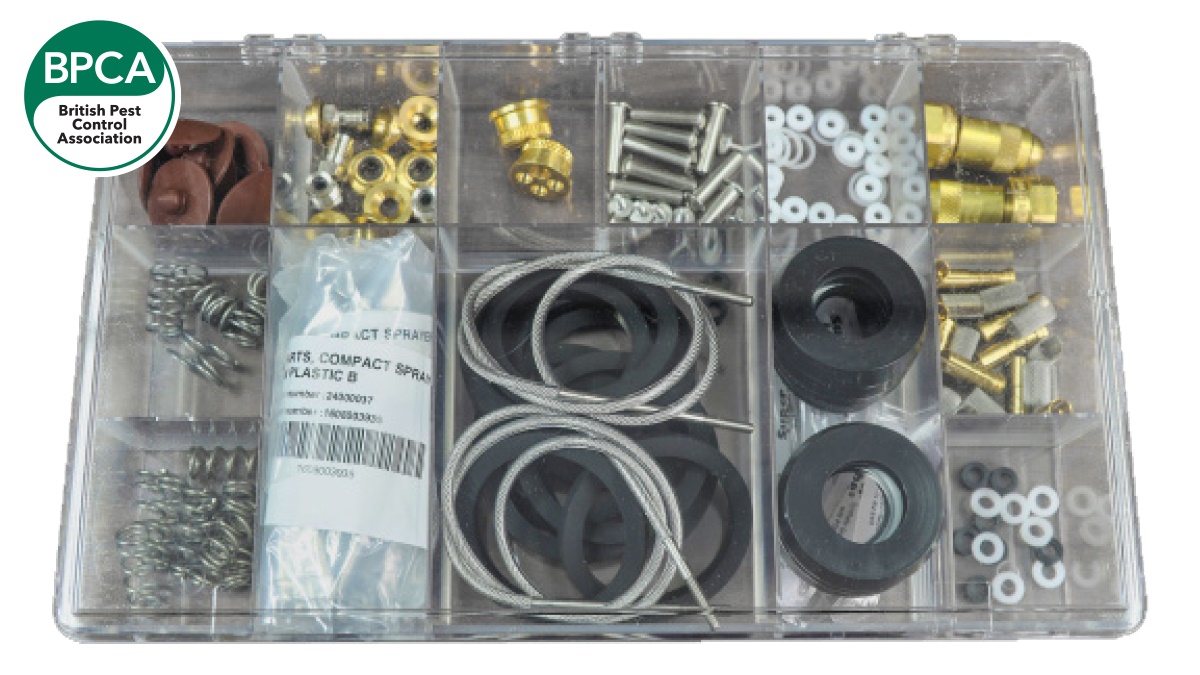
You don’t need fancy gear. Basic hand tools like spanners, screwdrivers, nylon brushes and a good workspace are enough. Keep your repair kit close at hand. If you’re working in a team, get everyone together and make a sprayer workshop out of it. It’s a great way to share knowledge and stay on top of regular upkeep.
4 Inspection isn’t just for clients’ sites
Just like you inspect a property for pest entry points, you should be inspecting your sprayer - every day, if possible. Check for chemical residue, signs of wear, cracks in the hose, clogged filters, or leaky fittings. If your spray pattern suddenly changes, it’s often a blocked nozzle or strainer.
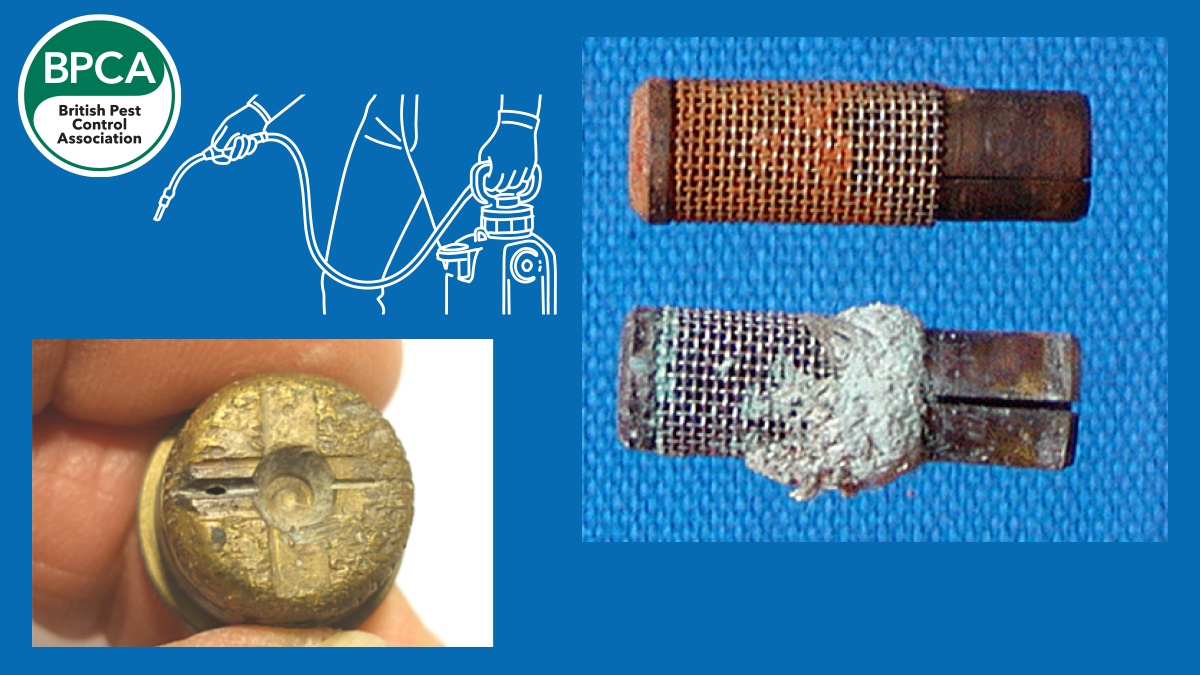
One common issue I see? Dirty strainers. It’s a tiny part, but if clogged, it can severely restrict flow. Take it out, give it a clean with soap, water, and a nylon brush. If it’s rusted or bent, replace it. And make sure it goes back in the right way round!
5 Cleaning basics: no bleach, no shortcuts
You don’t need harsh chemicals to clean your sprayer. In fact, don’t use bleach. It can stain or corrode metal. Just stick to simple soap and warm water, and use a long nylon brush to get into the base of the tank where about 30ml of liquid often lingers.
Be gentle with the siphon tube. It’s easy to bend or snap during overenthusiastic cleaning. Think of it like cleaning a toilet bowl: it’s routine, but it matters.
6 Replacement isn’t failure - it’s planned maintenance
Your sprayer’s not disposable. It’s made to last. But to do that, a few components need replacing on a schedule - just like your van’s tyres or oil.
Here’s what I recommend:
- Every six months:
- Check valve
- Plunger cup
- Lock spring
- Soft seat gasket
- Nozzle gasket.
- Every 12 months:
- Pump tube gasket
- Nozzle tip.
Why so frequent? Because regular use (even with just water) causes wear. Nozzles, for example, can widen with use and increase your output by 10%. That means more chemical being applied than intended, which can breach label conditions and waste money.

7 Strainer and nozzle care: where most issues begin
Strainers catch debris and keep your system clean. But they need regular attention. If it’s too dirty to clean, replace it. When putting it back, make sure the closed end faces the hose. Get that wrong, and you’ll wonder why your flow rate is off.
Nozzles wear out with use. Fact. They’re cheap to replace, and essential to keep your output accurate. Never poke them clean with a safety pin or paperclip. It’ll mess up the spray pattern. Nylon brushes only, please.
And don’t forget the nozzle gasket. That little black ring can fall out without you noticing, leading to frustrating leaks. If you’re seeing drips, check it’s still there.
8 Key components to understand
Even if you’re not mechanically minded, get familiar with the parts that matter most:
- Pump tube gasket: be aware that this is prone to cracking or swelling under pressure
- Check valve: this is a small, essential disc at the bottom of the pump which is easy to replace if needed
- Pump tube: this can also develop cracks, if overexposed to chemicals
- Plunger cup: make sure you change this every two years, at least. Leather options are great and provide a better seal
- Hose: if the metal connectors swivel, a top tip after you tighten them is to use Teflon tape for a better seal.
And always use two wrenches-one to hold, one to turn-when tightening or removing fittings. That little trick will save you a world
of hassle.
9 Use your sprayer like it’s built to last - because it is
I’ve worked with sprayers that are 50+ years old and still going strong. That’s the goal. But you only get there if you treat your kit right.
My top tips?
- Keep your sprayer empty and clean, especially in winter
- Replace key parts on a schedule—not just when they fail
- Use the right tools and PPE every time you work on it
- Get to know your sprayer. Take it apart, rebuild it. The more familiar you are, the easier the job gets.
Sprayer maintenance might not be glamorous, but it’s one of the most important things you can do to stay compliant, efficient and professional.